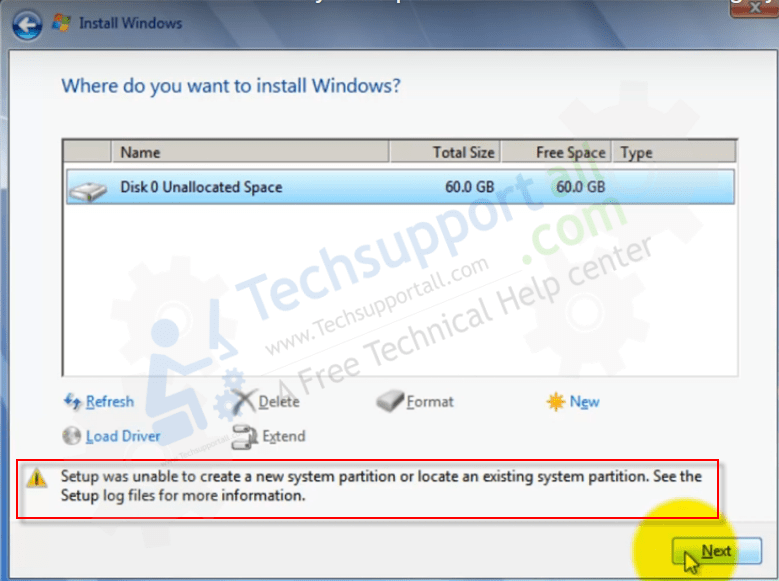
If you are getting this error message: “Setup was unable to create a new system partition or locate an existing system partition” while installing Windows 7, 8/8.1, 10, then here you are reaching out to the right place. Here we’re going to give you the step by step guide on how to fix this problem and start installing Windows 7. Follow the below given steps to install fix this issue.

I am going to show you the guide on how to fix “Setup was unable to create a new system partition or locate an existing system partition” while installing Windows. The Same process will be applied for Windows 7, 8, 8.1, 10, etc.
What I am going to do it, I’ll be installing a Windows from the hard, instead of using Windows CD or USB disk.
How to Fix “Setup was unable to create a new system partition or locate an existing system partition” while installing Windows
- First of all, make sure that any external hard drive is unplugged from the computer. If you are installing windows through CD or bootable USB, leave that plugged in, nothing else.
- Now press the Shift key + F10 key together. This will open up the command prompt.
- In the command prompt window, type “diskpart” and press enter.

- Then type “list disk.” This will list all hard drive connected to this PC. I have only one. You also should have one as well. I am installing Windows to this hard drive.
- We need to select the hard drive by typing “select disk 0“. You may select a different partition if you have of desire.
- Now type “clean” to delete all the information on that drive.
- Once done, type “create partition primary size-10000“
- Now type “format fs=ntfs quick“.
- Once done, type “assign” press enter key.
- Then type “active” and press enter key.
- Now type “list volume” to list partition or drive. It will show the partition that you just have created.
- Now we are going to copy the CD drive Bootable Windows content to the c drive.
- Type “Exit” and then press enter key.
- Go to CD drive by typing “cd e:” and press enter. You may use different if your CD drive letter is “e”.
- Now type “xcopy e: c:/e/h/k” then press enter key. It starts copying the installation files from CD drive to the C drive. It will take time to copy.
- Once done, type “exit” and press enter. Now close all the Windows that is opened up and then reboot your computer once. Once it reboots, it will start installing Windows.
- Now you’ll have to option to create partition the allocated space to the partition.
Once the Windows has been installed, we need to edit the boot loader. To remove this black screen from the startup, follow the below steps.
- To do that run the command prompt as administrator.
- Type “bcdedit” command and then hit the enter key.
- Locate the “description” and “Identifier” content.
- Type “bcdedit /delete (74253dcc9-effasdrc50-3582tvple-5263tlpt-5223thpf)” then press enter button.
- That’s it. Reboot your computer, this time you won’t be getting any black screen to choose Windows.
