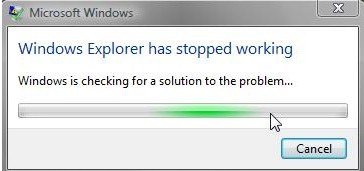
Windows 10 has its own built-in system repair tool. In addition, this instance runs automatically. However, occasionally the tool is unable to solve the problems. What’s worse, it displays the dreaded message that it was unable to repair the computer. Additionally, the system loops and always displays the same message. This makes it impossible to use the computer normally. Well, today we will see how to solve this annoying problem.
How to Fix when the Automatic repair couldn’t repair your pc
We are sharing 7 possible solutions to fix this issue. Please apply one by one and leave the message in the comments section below which will work for you. You may apply the steps on Windows 7, 8, 10 PCs.
Solution 1: Use the command prompt from the Windows 10 Startup Options menu
If you’ve come this far, it’s because you can’t start Windows properly. Don’t worry an follow the next steps:
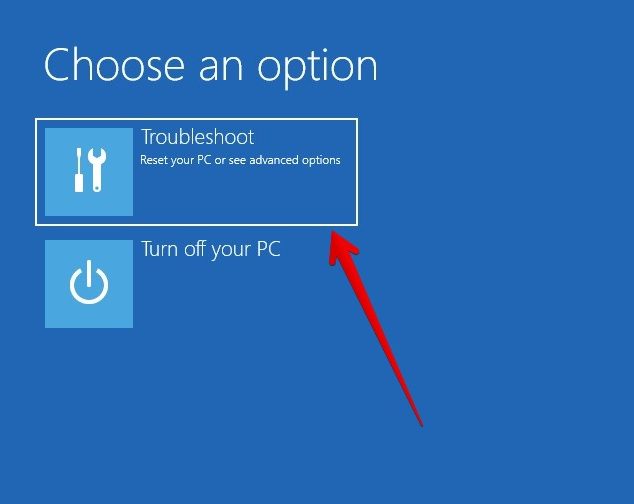
- Reboot your system 3 times or more in between booting will automatically redirect you to the advanced boot option. Once you’re there, just click on Troubleshoot.

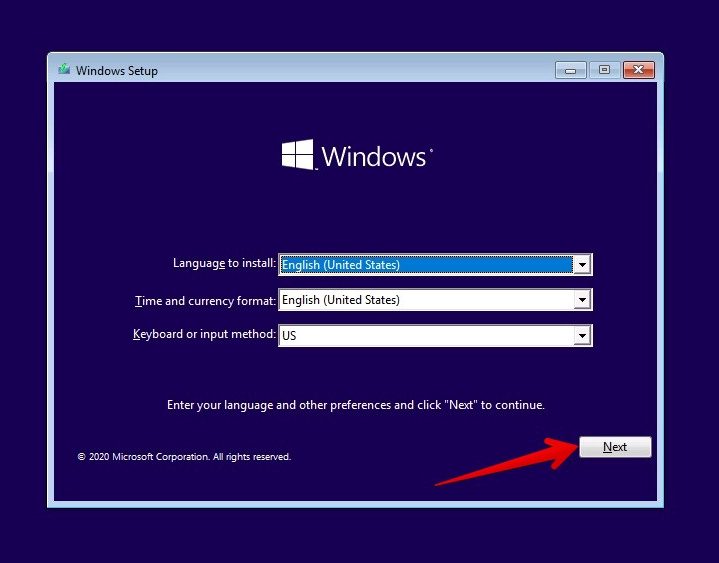
- Alternatively, there is another way to get to this ‘advanced boot option‘ menu and that is by using a Windows 10 installation media. Please boot from the installation media so that the welcome screen appears. Once you’re there, please select the language, time and keyboard settings. Please press Next.

- On the next screen, please click on repair your computer.

- After that you’ll get the “Advanced boot option” as you get in the first step. Click on the troubleshoot.

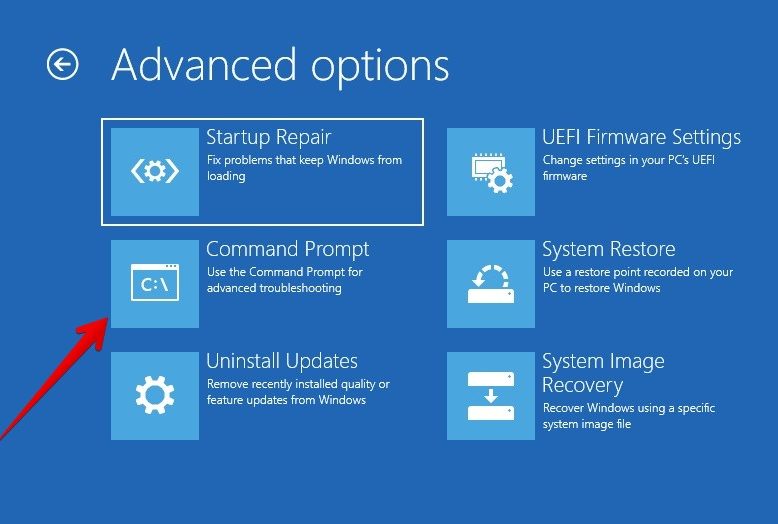
- After clicking on Troubleshoot the following options are displayed. Please click on Command Prompt.

- The command prompt window will be immediately open up. Please execute the following commands one by one. Please don’t forget to press the ENTER key after type every command line.
[type or copy/paste the following command]
bootrec.exe /rebuildbcd
[press enter]

[type or copy/paste the following command]
bootrec.exe /fixmbr
[press enter]

[type or copy/paste the following command]
bootrec.exe /fixboot
[press enter]

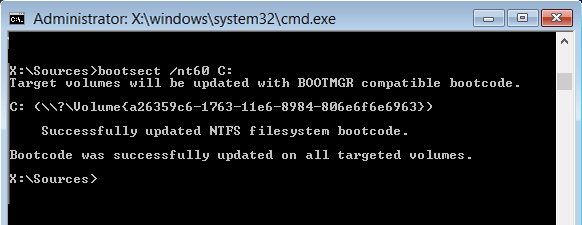
- Then reboot Windows to see if the problem has been fixed. If not, please repeat the above steps until you reach the system symbol. Once there, please run the following command:
bootsect /ntfs60 C:

- Once again, try to run the same three commands as above.
- That’s it
Solution 2: Use Diskpart to repair the corrupt file system
Once again we will use the command console. However, this time we will use a command that allows us to detect and repair errors on the disk. In addition, it is necessary to know the drive where the system is loaded. Okay, once in the terminal please run the following command:
chkdsk /f /r C:
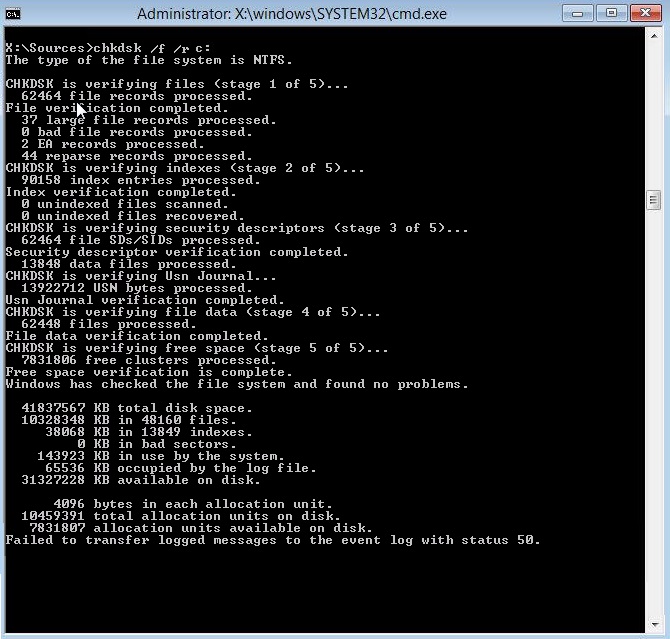
Please note that you must replace C: with the drive letter corresponding to your file system. Now reboot the system to know if the problem has been repaired.
Solution 3: Repairing the Windows 10 image
Another method we can try is to repair the Windows image. With this in mind, again from the CMD, run the following command:
DISM /Online /Cleanup-Image /RestoreHealth
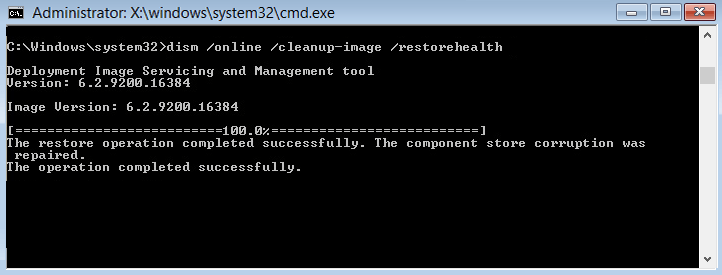
This process can take about 15 minutes or more to complete, so be patient. Do not interrupt it. Once the process is complete, restart your computer.
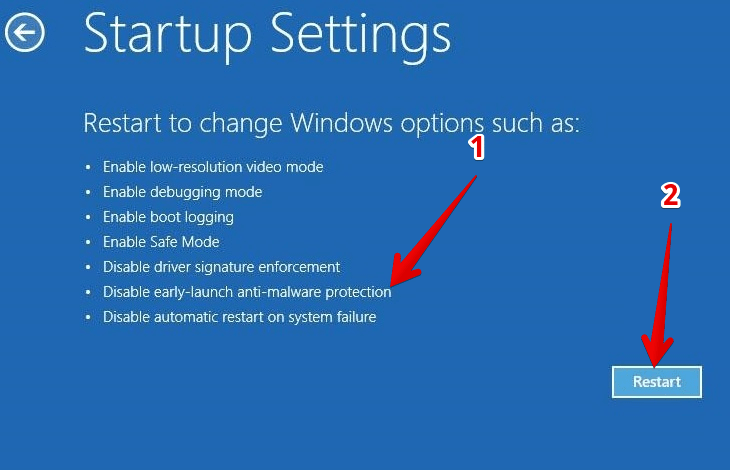
Solution 4: Disable early-launch anti-malware protection
Some users have reported that this error is sometimes caused by anti-malware protection. In that case, let’s see how to disable it. Please follow the steps described here. However, select the option corresponding to this subtitle and then restart the system. However, select the option corresponding to this subtitle and then restart the system.
Solution 5: Disable Auto Startup Repair
As we mentioned at the beginning of the post, Windows incorporates its own tool to repair the system automatically. However, sometimes this is not the solution. On the contrary, it causes a loop that prevents the system from booting correctly. Consequently, let’s see how to disable this service. Please repeat the previous steps, but this time run the following command:
bcdedit /set {default} recoveryenabled NoOnce this is done, Startup Repair should be disabled and you may be able to access Windows 10 again.
bcdedit /set {default} recoveryenabled YesSolution 6: Set the correct values of the device partition.
Sometimes it can happen that the partition values of the device are not correct. That is, the system must be configured to boot from the drive where the system is installed. Usually this is on the C drive. However, if there are multiple disks or partitions, the system may mistakenly attempt to boot from a different drive. This will cause the loop. So let’s start from the fact that Windows was installed on the C drive. Well, the first thing we must do is check that everything is in order. With this in mind, from the CMD run the following command:
bcdedit
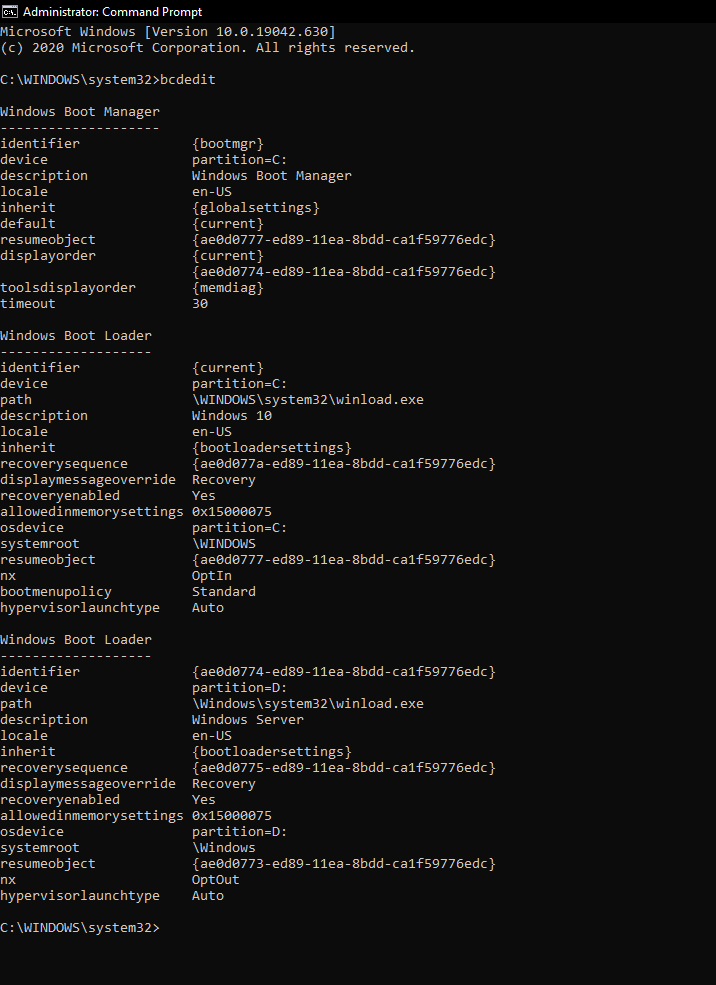
Please verify that the values are correctly assigned to unit C. If not, and it is assigned to another unit, it is possible to correct it. With this intention run this pair of commands:
bcdedit /set {default} device partition=c:
bcdedit /set {default} osdevice partition=c:
Solution 7: Reinstall Windows without losing the files
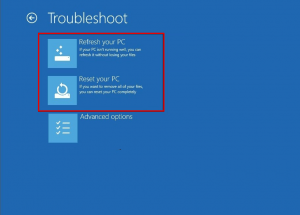
If even with the previous steps you’re still having problems, then you may need to refresh your Windows. This is to reset the system to factory default. To do this, from the advanced options menu, click on Refresh the PC and follow the instructions.
At the end of the day we hope to have helped you solve this problem with the automatic repair of Windows. Bye!
