

This post contains some older method to turn off the the automatic updates. So may be they will not work anymore for some users. Here is a newer guide to turn off automatic Windows updates permanently.
Officially you could delay or defer updates but there is no option to stop them forever in Windows 10. Yet there are some hacks which could work to disable these updates permanently. In previous Windows there was option to turn on / off updates but in Windows 10 they get installed automatically. Though I don’t advise you to stop them completely.
How it works?
Actually, Windows network update module is responsible to keep the Windows updated automatically. It search and install the latest updates for the operating system and other components installed on it. As its name indicates, this module runs automatically and independently of the user. At first glance, it is not possible to suspend its operation. The most the user can do is to delay the updates for 7 days.

Methods to stop automatic Windows 10 updates
For some people these automatic updates are very annoying and they ask us to stop them permanently instead of deferring them. So here we are mentioning some methods to do this task in a easy way.
We do not recommend stopping Windows updates completely (permanently) as it is essential component for the Windows security.
Method 1: Disable Windows Update Service.
An effective way to stop automatic updates in Windows 10 is to stop the Windows Updates Service.
- Press the Win + R combination from your keyboard.
- Type the following command in the Run box: services.msc
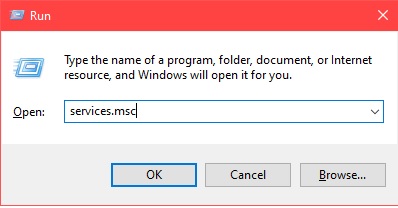
- In the next window, you scrolled down to get the Windows Update service. Double-click on it to enter its properties. Next, in the startup type select Disabled.

- Then restart the computer and Windows will not download or install any updates. However, if you want to reverse the process. You just have to follow the same steps, but change the startup type of the service to Automatic.


Method 2: Disable Windows updates by creating a group policy
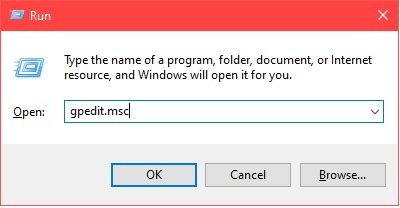
Another option to disable Windows updates is to create a group policy. With this in mind, press the Win + R combination and run gpedit.msc:

Then select the left menu and follow the next path: Computer Configuration → Administrative Templates → Windows Components → Windows Update.

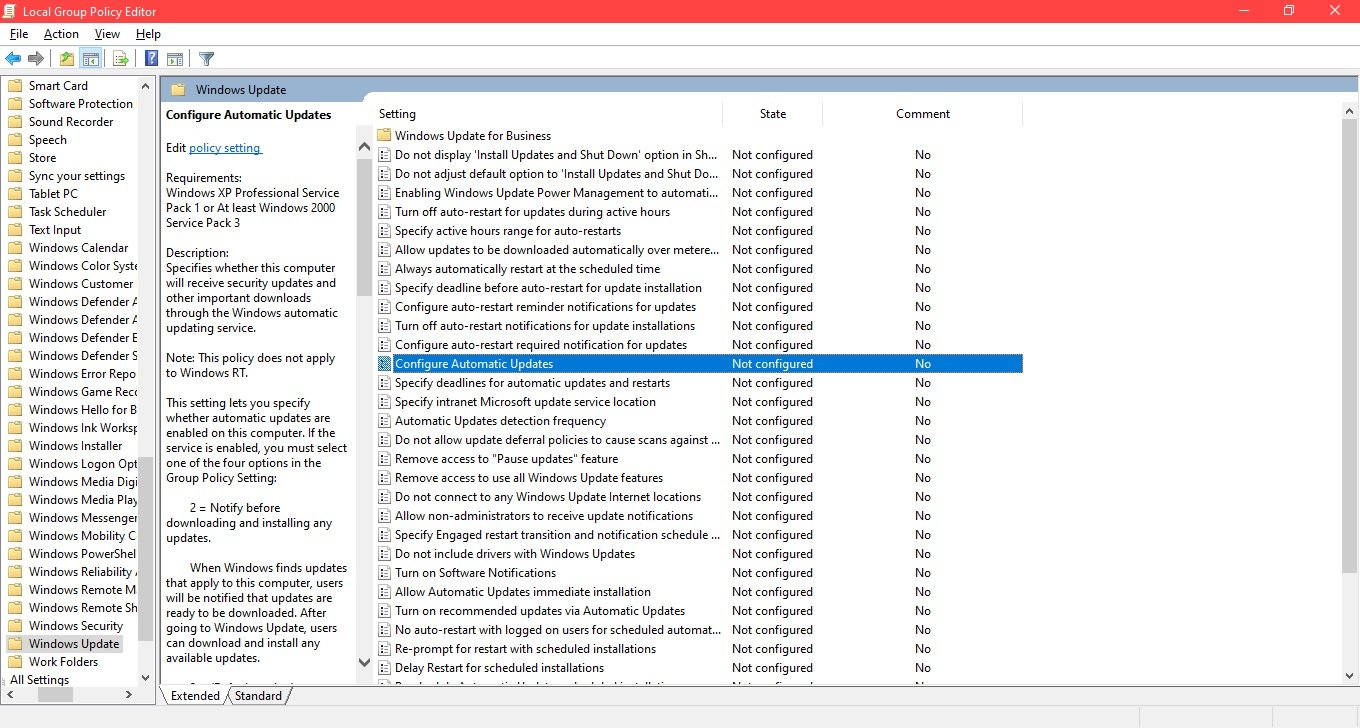
In the next window select Disabled. Press Apply and restart the computer to set the changes.
Method 3: Disabling Windows 10 automatic updates using a script (CMD).
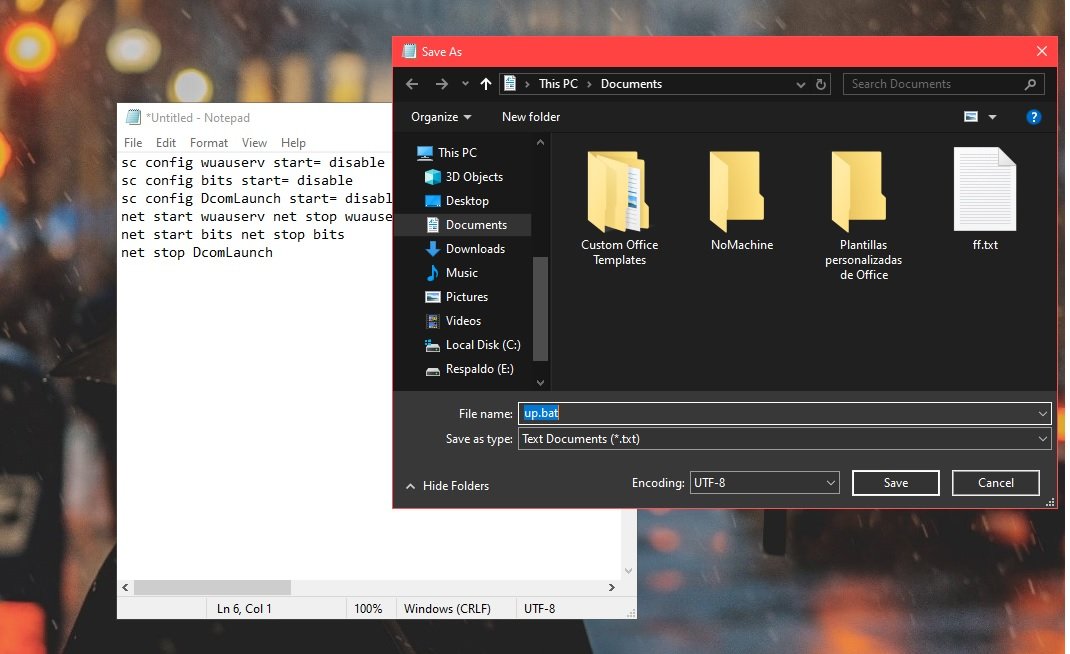
It is also possible to turn off Windows 10 updates by creating and executing a script. To do this, just open the notepad and paste the following text:
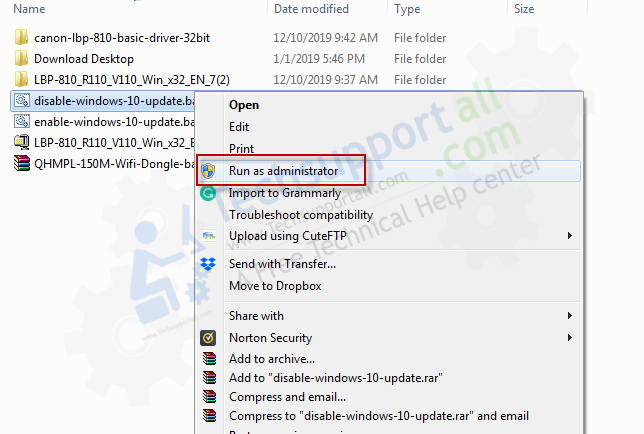
Download: disable-windows-10-update.bat
sc config wuauserv start= disable
sc config bits start= disable
sc config DcomLaunch start= disable
net stop wuauserv
net stop bits
net stop DcomLaunch
Then save the file and rename the extension from “.txt” to “.bat“. Just run this file as Administrator so that the service that manages updates (wuauserv) becomes disabled.


Enabling Windows 10 Updates using a script (CMD).
If you want to restore the automatic Windows updates service, then just follow the previous process, but enter the following text:
Download: enable-windows-10-update.bat
sc config wuauserv start= auto
sc config bits start= auto
sc config DcomLaunch start= auto
net start wuauserv
net start bits
net start DcomLaunch

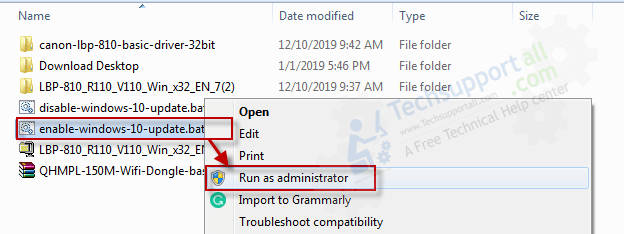
We also save the file again and change the extension from “.txt” to “.bat”. Then execute it with administrator user permissions, and that’s it. I hope you liked the tutorial. Now you can suspend the update service according to your will. See you later!
FAQs
Q: Why users require to turn off automatic updates?
A: Some people really don’t like the forced updates by the Windows 10. And there are reason behind it.
- some people find that some times update process stuck and could break the system. So they don’t want to change anything in their smoothly running computer.
- People think that windows update could take a lot of bandwidth to download the updates so who or on limited quota they really hate it.
Q: Why you should not disable the updates permanently?
There are many strong reason that you should not disable the automatic updates in Windows 10.
- Automatic updates provide latest security patches, which let the computer be protected from the latest threats.
- Windows only release 2 major feature updates in a year, except some serious security issues. So it is not annoy you every time.
- Microsoft stop support for the older versions, so it is always advisable to keep the windows updated.
- If you have no time or is on limited bandwidth then there are options to defer the update or avoid downloading updates on limited bandwidth connection.
- For the people who scare of broken updates, there are now many options to fix the Windows update errors without any hassle.