
Today in this article, we will see how to switch local account to Microsoft account in Windows 10. When we do a fresh install of Windows 10, the wizard pushes us to log in with a Microsoft account. Even if we don’t have one, it’s possible to create one in the process. However, it is possible to log in with a local account. Similarly, already within Windows, it is possible to create a local account. To know how to do it, I invite you to check out another article about local accounts in Windows 10. Also, the important thing is that the user has the ability to switch between the two accounts. And this is precisely what I will explain below.
How to Switch local account to Microsoft Account in Windows 10
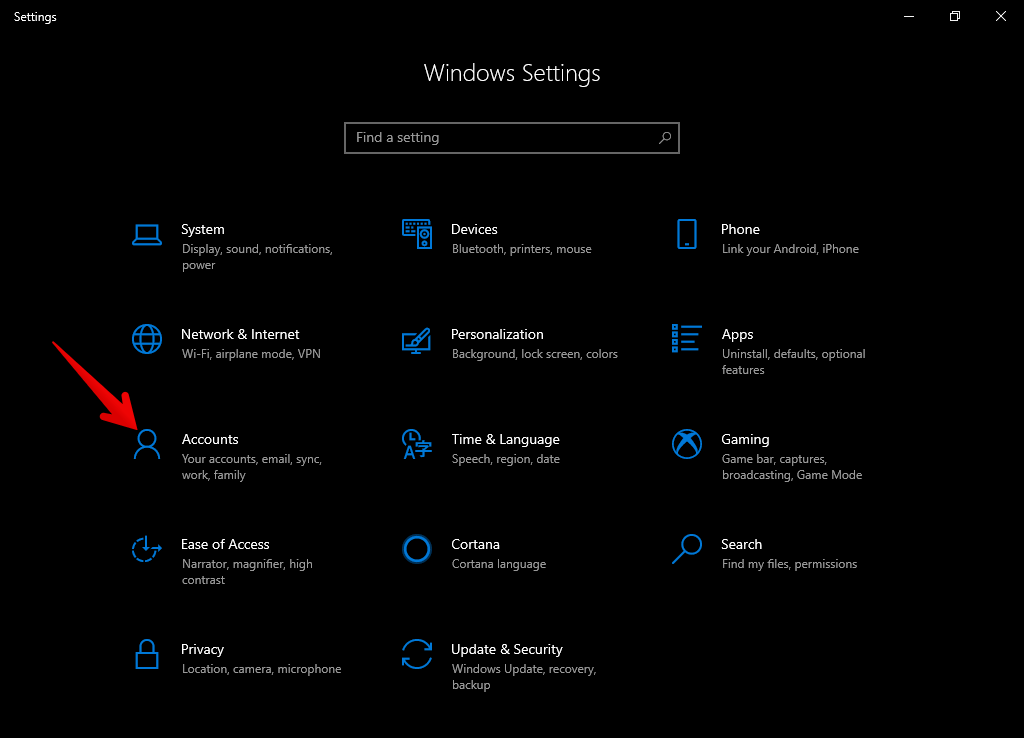
- To do so, you need to enter the Windows settings. In addition, it is highly recommended to close all open programs and save documents and files. Then press the Win + I in combination. Once there, enter Accounts.
- Next, within the account settings please enter the option Sign in with a Microsoft account instead.

- Then enter your Microsoft account.

- Please enter your password.
- Please re-enter your password to finish the process.
- As an additional security measure, you may be asked to enter your Windows Hello credentials.
- Finally, if you’ve been working with a pin, please enter it.

- Finally, you can check that you are logged in again with a Microsoft account.


Switch from a Microsoft account to a local account.
Okay, as mentioned above, Windows practically forces you to sign in with a Microsoft account. But, assuming you already have a local account or not, then it is possible to switch from the system itself.
- To do so, you need to enter the Windows settings. In addition, it is highly recommended to close all open programs and save documents and files. Then press the Win + I in combination. Once there, enter Accounts.
- Next, within the account settings please enter the option sign in with a local account instead.

- A window will immediately pop up where you must confirm the change to the local account. Press Next to continue.

- Immediately, the system will ask for your user’s security credentials. You must click on YES to continue the process.

- A window is then displayed where you must add the new user’s credentials. That is, the name, password, and hint to retrieve the password. Click on the Next button after that.
- Once the data has been entered, you are ready to switch to the local account. Please save all previous work and click on sing out and finish.


Very well, this way it is possible to switch between a local and a Microsoft account. Bye!
