
Upgrades are a fundamental part of any system. Windows 10 is no exception. In fact, most of the time they bring stability improvements and security patches. However, sometimes they cause malfunctions within the system. For that reason, some users choose to postpone these updates. In fact, among the options in Windows was the possibility of delaying them up to 365 days. But with the arrival of the May 2020 update, this option has vanished. But we value your ability to control your system. So in this post, we will find the trick on how to stop receiving Windows 10 feature updates only.

How to block feature updates in Windows 10.
As mentioned, previous updates could be postponed up to 365 days. However, this changed after the May 2020 update.
- Go to the following path: Windows Settings → Update & Security → Windows Update → Advanced Options.

- As you can see, the time frame has been reduced. But don’t worry, Microsoft has released information that indicates we can still postpone the feature update. To do this, it is necessary to change parameters within the Windows registry. Select the date if you want to temporarily disable the Windows feature update. If you want to permanently disable the feature update, then go further steps.

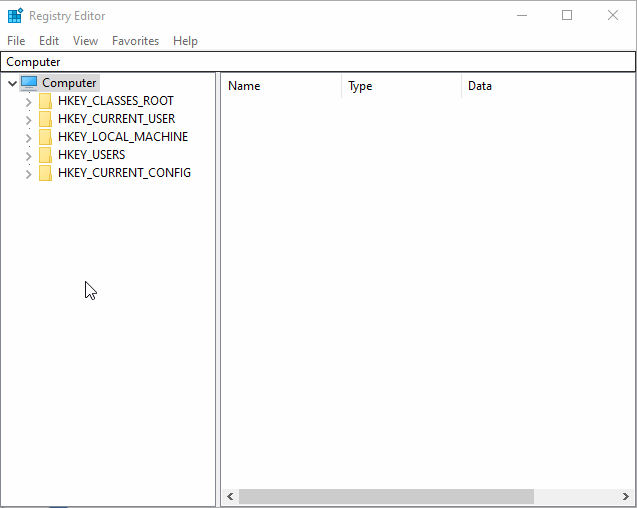
- No, we are going to tweek the registry, so we remind you that this is a sensitive part of the system so it is advisable to proceed with caution. In the first place, press the Win+R combination and execute the regedit command.

- Then locate the following path: HKEY_LOCAL_MACHINE \ SOFTWARE \ Policies \ Microsoft \ Windows \ WindowsUpdate. Right-click on Windows Update. Then create a new DWORD value (32 bits). Note: If you can’t find the “WindowsUpdate” folder then make a new one and also make its internal key values as given below. Please check out the following animated intro:
Animation:

Screenshots:

- For this value, please assign the name TargetReleaseVersion. Then, right-click on the value and click on Modify.

- Assign the value 1.

- Once again, right-click on Windows Update. However, you will now create a new String Value.

- To this value, you can assign the following name: TargetReleaseVersionInfo. Then, modify it by right-clicking on it.

- In the Value data, you must enter the version of Windows you are running. Please note that this trick works with 1809, 1803, 1903, 1909, and 2004 versions of Windows 10. On the other hand, if you don’t know which version you are using, click here to check it how.run the winver command after pressing the Win+R combination. Click here to learn how to check it.

- As you can see, we’re running the 2004 version. For that reason, that will be the value we will assign. Of course, the value may change depending on the version of Windows you are using.

- That’s it.


Finally, you just have to close the registry editor and you are ready! From this moment on, you can theoretically delay a feature update for 365 days. However, the information provided by Microsoft states that you can remain with the version of Windows until its support ends. Or until you modify the registry again. This is very important for administrators. They can stay on the version of Windows that provides more stability. Also, keep in mind that security updates will still be received. Since we have only stopped the feature updates.
If you have any query, please write in the comments section below.

I have version 2004. I can see the path HKEY_LOCAL_MACHINE \ SOFTWARE \ Policies \ Microsoft \ Windows
but there is no such folder as WindowsUpdate … So, any tips would be appreciated, please. 🙂
If you don’t have it then make the “Windows Update” key by right clicking on on the “Windows” key and also make the same component as give. It will work. Watch this animation.