Many people are not aware that if they do not take proper care of their computer it will become slower, and it will slowly go to the downstate that it was in when they bought it. Using Windows System Maintenance utility will help you to optimize its performance and clear disk space by deleting unused files & shortcuts. You don’t have to download anything, it’s Microsoft Windows Inbuilt utility and very easy, and once you’ve learned how to do it, you should do it regularly to keep your computer in good shape.
This article will teach you how to open Windows System Maintenance, what messages you should expect to see during the installation, and how to complete the process. You should run it often, and especially every time you see your computer getting slower. It is a very quick process that anyone can apply, and after you read this article, you will be able to explain it to your friends as well.
System Maintenance removes the unused file and shortcuts and other maintenance task from your computer. Also, do some more cleanup to speed up your computer.
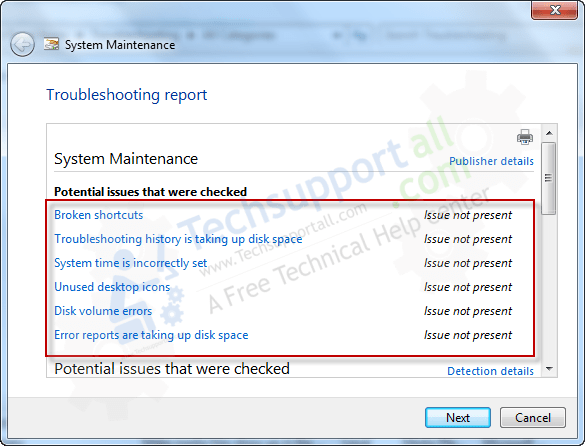
It would able to find and repair the following issue:
- Fix Broken shortcuts
- Fix Taking up spaces
- Fix Incorrect time settings
- Fix Unused desktop icons
- Fix Disk error
- Fix error reporting space.
Follow the following steps to know how to open or run System Maintenance in Windows 10, 7, 8, 8.1, Server.
Steps:
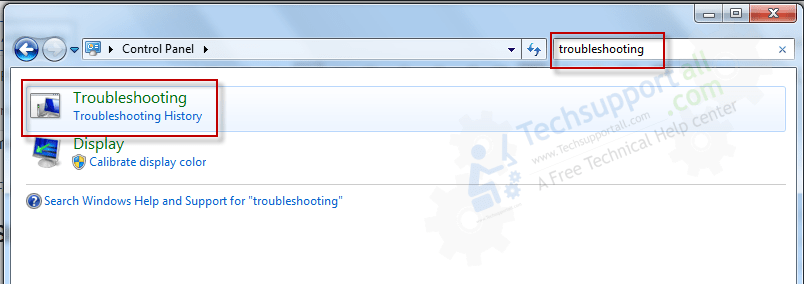
- Open Control Panel.

- Search for Troubleshooting in the search bar. And click on the troubleshooting.

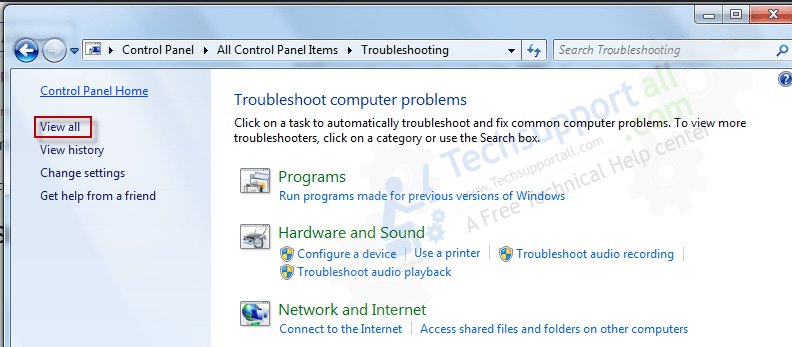
- Click on View All from the left side pane.

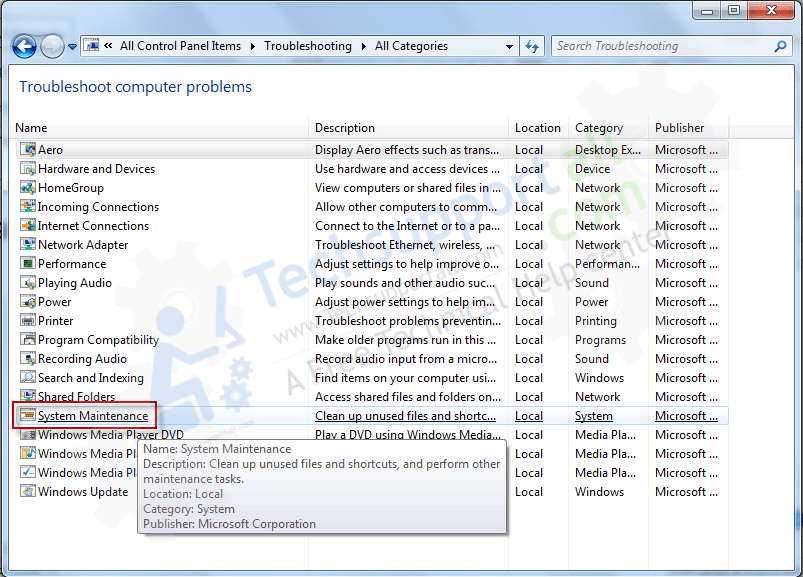
- Finally, click on System Maintenance tool.

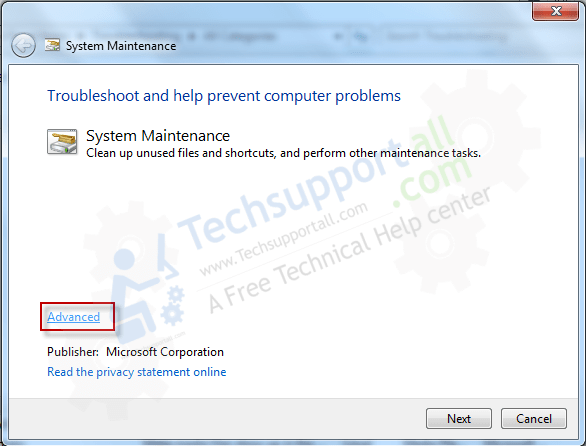
- After started, click on Advanced.

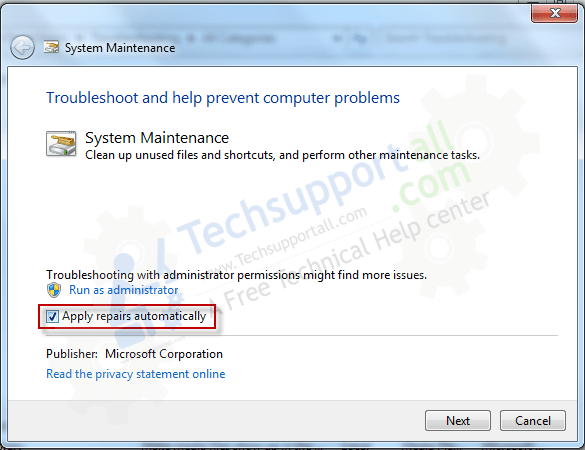
- Select apply repair automatically.

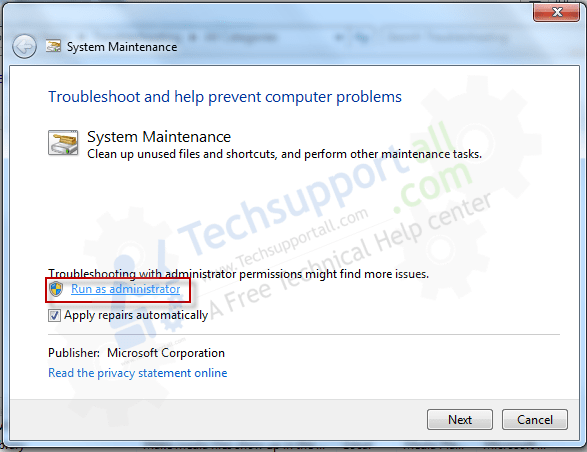
- Click on Run as administrator.

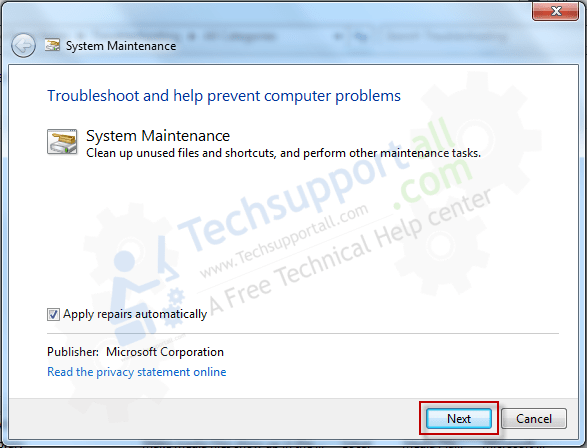
- Click on Next.

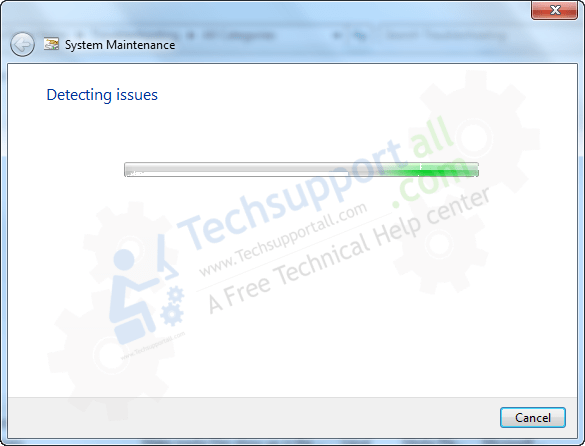
- It is now detecting issues.

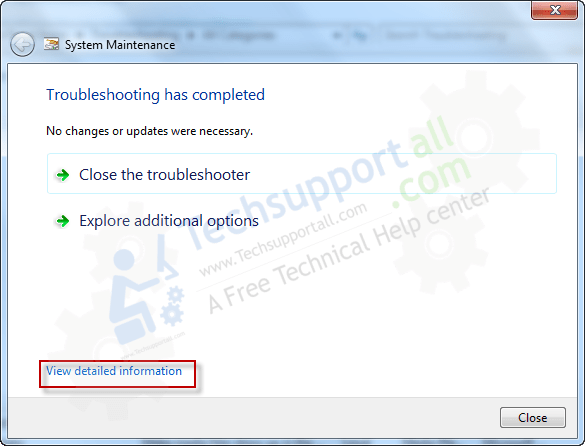
- After finished, you may check its detailed information about what it has done. Click on view detailed information.

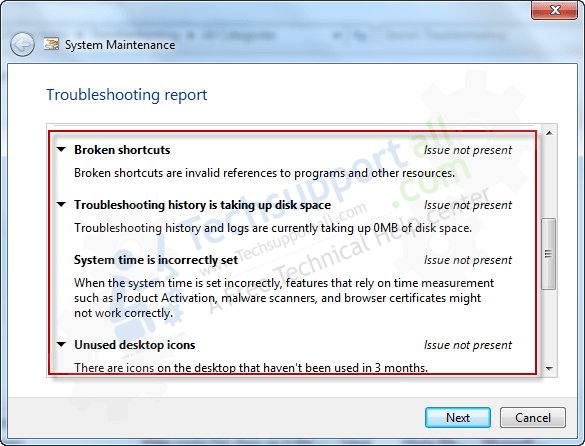
- You’ll get detailed information like this.


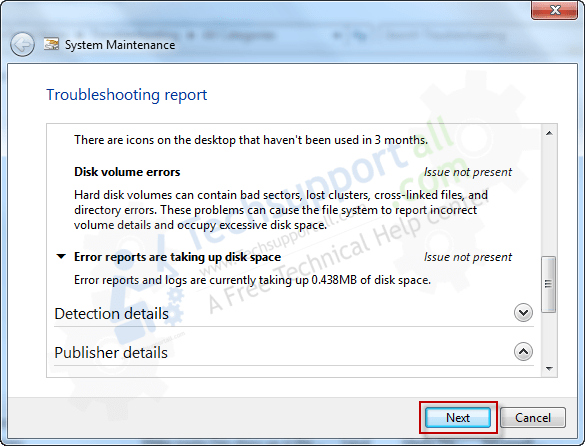
- Click on Next to complete it.

- Open Control Panel.

thank you