
It is well known that when installing Windows a lot of folders are generated. Indeed, system folders and others are created. In addition, when managing a user, this has its information. That is, music, documents, images, and videos, are saved in your user folder. For this purpose, the system sets up folders according to the users created. As mentioned, Windows assigns a User Folder when installing the system. For this reason, the user does not intervene in the choice of this username. Since the system assigns it automatically. Consequently, you may wish to change this username. And therefore, the name of the User Box. So today we will show you how to change the user’s folder username (c/users/username) in Windows 10.
Requirements
Before going any further, I warn you to follow the steps one by one. If you do not follow the exact instructions, you may render your account useless and lose your data. Or even hide all your personal information. But don’t worry, by following our method you can do it totally safe.
Step 1: Creating an account with administrative privileges
To start, you need to use an account with administrative privileges. This is logical since it is impossible to change the name of the folder from the user himself. If you don’t have another account with administrative privileges, then we will create one. There are many ways to create a user with administrative privileges. However, we will use the fastest option that involves using the Command Prompt.
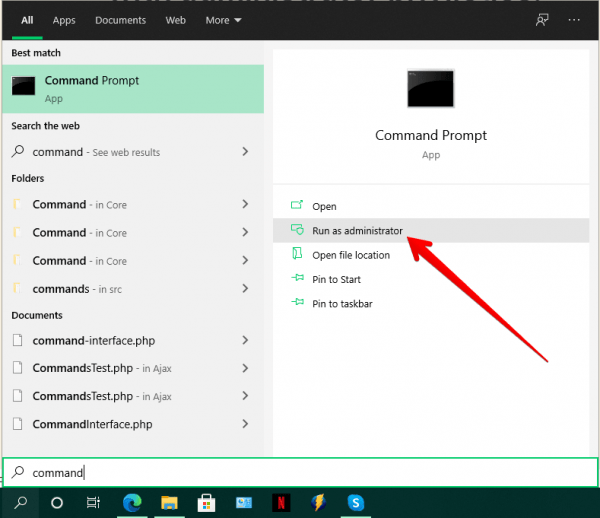
- Open the command prompt.
- Once there, execute the following command:
net user new user password /add
- Please remember to add the new user and the corresponding password.

- With this command, we have added the new user Admin to the list of users. We will then include this user in the group of administrators. With this in intention, please run the following command:
net localgroup Administrators Admin /add

- Additionally, you can verify that the user has been successfully created in this way. Please press the Win+R combination and execute the following command:
netplwiz


- Open the command prompt.


Step 2: Logging in from the alternate administrator account.
Manually changing the User Box name.
As mentioned, it is not possible to change the User Folder name from within the user. To do this, we will log in with the newly created user account. Once there, press the Win+E combination to go to the file browser. Then, go to the following location: C:\Users. Once there, please modify the User Folder manually.

Step 3: Getting the security identifier (SID).
One of the reasons why the name cannot be changed in the usual way. Is that when you create a user, a unique security identifier is generated. Consequently, if you only change the name of the folder without changing the SID, then there will be serious consequences. From losing the information to making the account unusable. For this reason, it is necessary to identify the correct SID for later editing in the Windows registry. With this intention, from a Command Prompt, run the following command:
wmic useraccount get name,SID
Next, note the SID corresponding to the account you wish to modify the user profile.

Step 4: Modifying the SID with the Windows 10 Registry Editor
Once the SID is verified, it is time to modify it using the Windows Registry Editor. To do this, press the Win+R combination and run the following command:
regedit
The Registry Editor will be displayed immediately. Please go to the next path:
HKEY_LOCAL_MACHINE\SOFTWARE\Microsoft\Windows NT\CurrentVersion\ProfileList
Then, select the registry corresponding to the SID you are going to modify.

Then right-click on the mouse to modify it.

A box will then be displayed. There you must modify the name of the user. Please remember to use the same name you previously modified.

Back to the previous screen, you can see the successfully modified user profile.

After closing the registry editor, simply close the session. Finally, log in with the account you modified. If you have done everything correctly, when you enter the file explorer, you will see the name of the modified user folder.

With these steps, it is possible to change the user’s username folder (c/users/username) in Windows 10. That is to say, modify the user profile to another one of our tastes. I hope you have been clear and you can do it without problems.
