

How to clear/ reset cache in Microsoft Office.
Whenever you create a file on Microsoft Word, PowerPoint, Excel, or any these types of applications of Microsoft Office. Along with that, it also generates a copy of the file in the cache folder, and this can be used for speed up the Microsoft office. This copy file could be also used as a recovery file if your main file got corrupted. The clear cache process can be fixed lots of problems which occurs in Microsoft office. So, if you see any unusual behavior than usual in MS office, do clear your office cache first. Let’s learn how to clear cache in Microsoft office.
Also Read: How to clear cache in Windows 10
[Steps] How to clear cache in Microsoft office
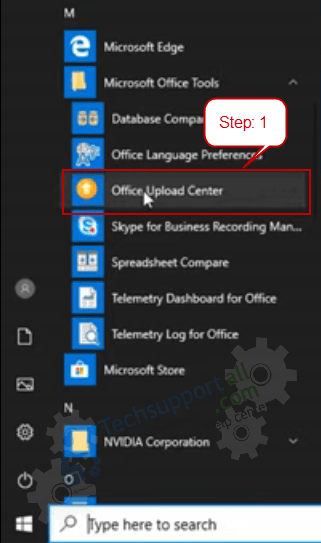
- Click on Start menu Windows button.
- Go to Microsoft Office tools and then click on “Office upload center“. An upload manager window will open up.
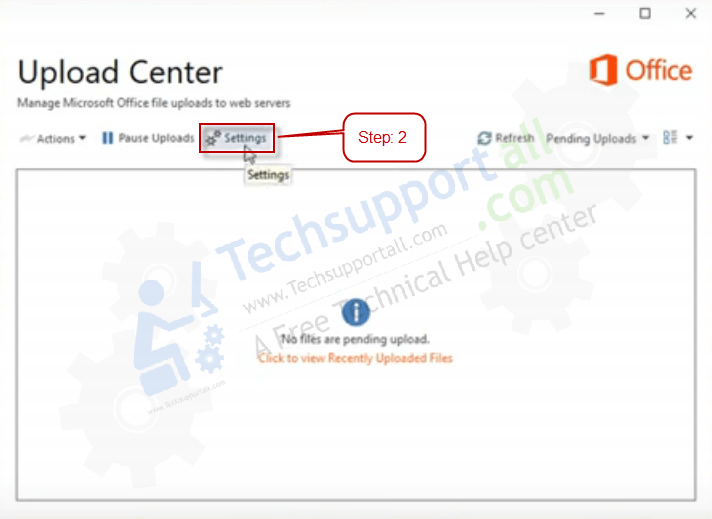
- Click on settings.
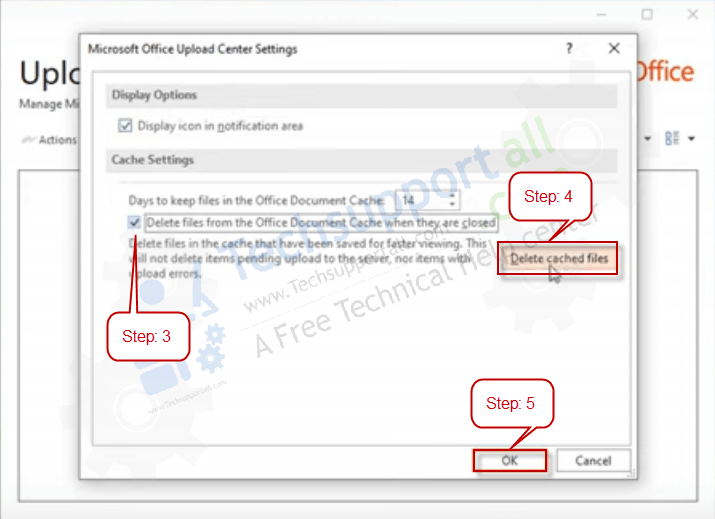
- In settings, select the checkbox “Delete files from the Office Document Cache when they are closed.”
- Click on Delete cache files button then click OK button.


Steps for Microsoft Office 365
Now, we will look at the steps to clear cache when you use Microsoft Office 365. As we know, that MS Office 365 gives its users up to 1024 GB of storage space, which is a lot for storing office documents and working on them. However, when you work on your documents in the Office 365 by using your computer, then it creates cache files which you must remove from your computer, otherwise, your computer may slow down.
Most users are unaware of this fact because they think all their documents are stored online, therefore, their computer will not have any cache files. However, these cache files are created while they are working on the Office 365 documents and must be removed from their computer. Follow the steps given below to remove cache files in Microsoft Office 365.
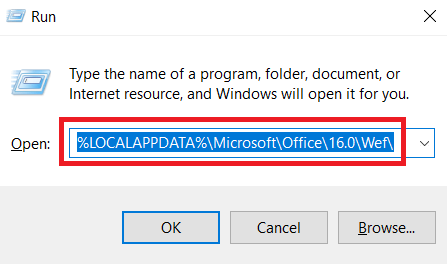
- Press ‘Win’ + ‘R’ keys together on your keyboard to open the Windows Run dialog box.
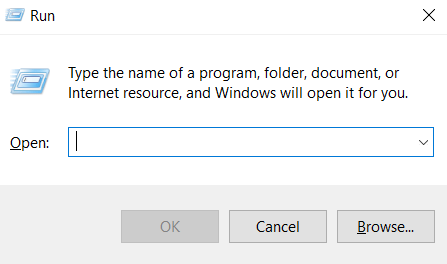
- In the Run dialog box, type the ‘%LOCALAPPDATA%\Microsoft\Office\16.0\Wef\’ command, or you can copy the given command and paste it in the dialog box. This command is the destination of the folder where Windows stores the cache files when you are working on MS Office 365.
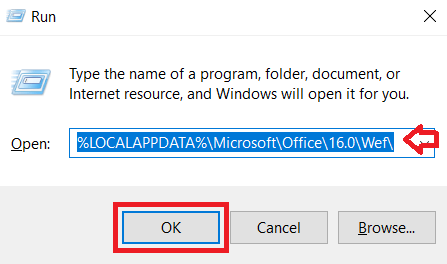
- After entering the command, click on the ‘OK’ button to proceed.
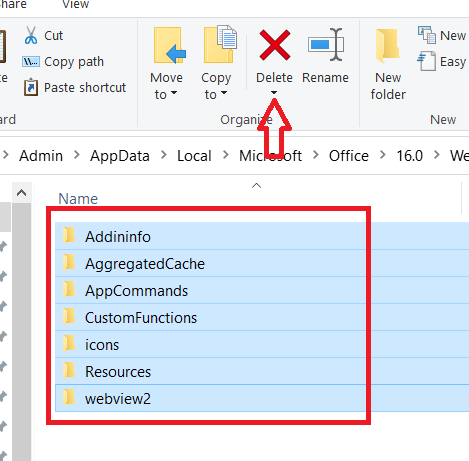
- Once the Wef folder opens, press ‘Ctrl’ + ‘A’ keys together on your keyboard to select all the contents of the folder, then click on the ‘Delete’ button to delete all the selected content.
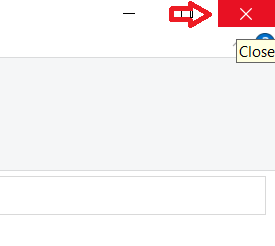
- Click on the ‘Close’ button to close the window.


That’s it, you have completely cleared cache in Microsoft Office 365. If you are worried that deleting all the files can adversely affect the working of your MS Office 365, then you don’t have to worry, because next time when you start working on MS Office it will automatically create all the folders and files again. All the folders and files you will be deleting are the content that the Microsoft Office 365 doesn’t require for its proper functioning.
Also Read: How to Recover / Repair unsaved excel file.
We have explained everything about how to clear cache in Microsoft office. If you have any query regarding this issue, please leave a message in the comment section below.