

If you use Microsoft Windows 10 as your operating system, you may have noticed that the Windows Photo Viewer inbuilt app from previous versions (Windows 7) of the OS has disappeared. Since this was a very simple and easy to use viewer, a lot of users have been disappointed to find that it doesn’t get activated automatically anymore.

Fortunately, it’s possible to get Windows Photo Viewer back quite easily, so you can use it in your new operating system. All you need to do to enable Windows Photo Viewer in Windows 10 is to follow a few simple steps. Once you’ve done that, the program will be activated and ready for you to use. Here is what you need to do.
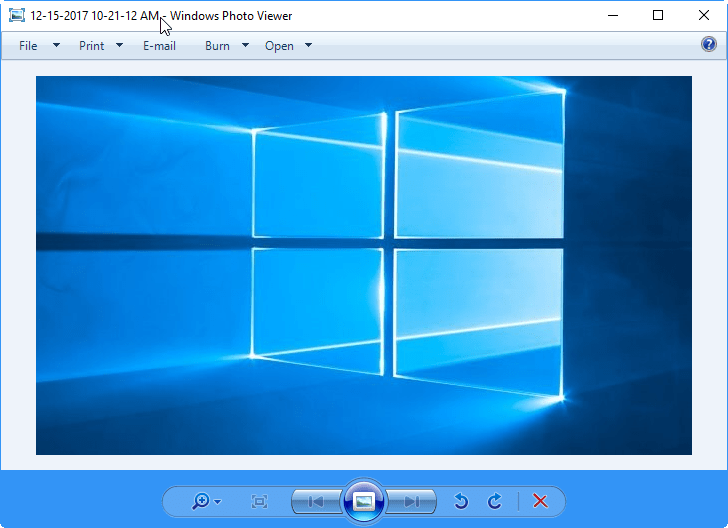
How to get Windows Photo Viewer in Windows 10.
Here, we’ll show you how to install Windows 7 photo viewer (old) in Windows 10 as default viewer.
- Click on the Start (Windows icon) and go to the Settings menu (gear icon) and then click on Apps, then choose the Default Apps option from the left side pane.
- Then, look for “Photo Viewer” – you’ll see whatever program is currently set to look at photos. It’s most likely to be the Photos app that comes as the default with Windows 10.
- Click on the “Photo Viewer” text and you will see various options for programs you can use to view photos. One of them should be the Windows Photo Viewer.
- Choose that and then go out of the Apps section. That’s all you need, as you’ve now got your old windows 7’s photo viewer back!


That’s it.
If you don’t like it and would like to revert, then you can simply run the following registry files: “Disable_Windows7_Photo_Viewer.reg” to undo all the changes that were made to the registry.
Follow the following steps if you have clean install Windows 10 (NO upgrade).
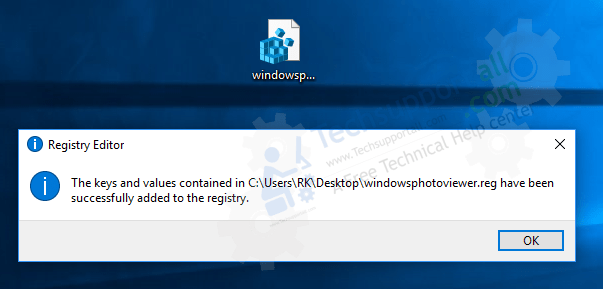
- Download the default registry file (Windows Photo Viewer) to bring it back to Windows 10. Click here to download the “.reg” file windowsphotoviewer.reg.
- Merge the “.reg” file into the Registry by double-clicking on the file. You will have to go through a few checks to say you’re sure you really want to do this.
Note: Might be you have to reboot the computer once to get the changes.

- Windows 7 Photo Viewer will now be available. Go to Control Panel’s Default Programs section and choose Set Default Programs.
- When you find the right program in the list for the type of file you want to open with Windows Photo Viewer, select it and pick set this program by default. This will make things automatic from now on.
- Congratulations! Now that you’ve managed to enable Windows Photo Viewer, you can use it just like you did with previous versions of the operating system.
- That’s it.
- If you would like to revert to all the made changes, simply execute this registry file: disable-windows7-photo-viewer.reg.


Download and Update Windows Photo Viewer with the latest version. The main file is photoviewer.dll. It runs through “rundll32.exe” file. The Windows photo viewer is located in “C:\Windows\System32\.” There is no direct exe file to run the windows photo viewer.
Though why you should use the older app if there is a newer version available. It takes some time to get used to the new version but it is worth getting habitual to the latest version. You can also find other alternatives of Windows 10 Photo Viewer. Some of them provide more features and are easier to use.