


What Causes Error 0x80070643 in Windows 10/11?
There are multiple reasons which can cause the occurrence of Error 0x80070643 in Windows 10/11. I won’t go into the details of each cause, but the most common causes are:
- Sudden interruption while updating your Windows
- Incomplete installation or uninstallation of a program
- Corrupted Windows system files
- Registry Error
The reasons mentioned above are just some of the common reasons which cause Error 0x80070643 in Windows 10/11. Troubleshooting this error will involve eliminating the cause behind Error 0x80070643 in Windows 10/11. Don’t worry, because the solutions discussed in the next section will help you achieve this objective.
How to Fix Error 0x80070643 in Windows 10/11?
The Error 0x80070643 can occur in Windows 10 and 11 OS versions, but the solutions of this error are almost similar for both these OS versions. Therefore, although I will be describing the solutions in Windows 10 OS version, but you can apply the same solution, with relevant alterations, for Windows 11 OS as well. Therefore, properly applying the solutions given below will help your permanently solve Error 0x80070643 in Windows 10/11.
Solution 1: Delete Pending Windows Updates
The steps I will describe below will allow you to delete pending Windows Updates, it’s like resetting the Windows Update feature of Windows to its original settings, which means all the issues related to this feature will get resolved. Read the steps given below carefully and follow them in their correct order to get desired results:
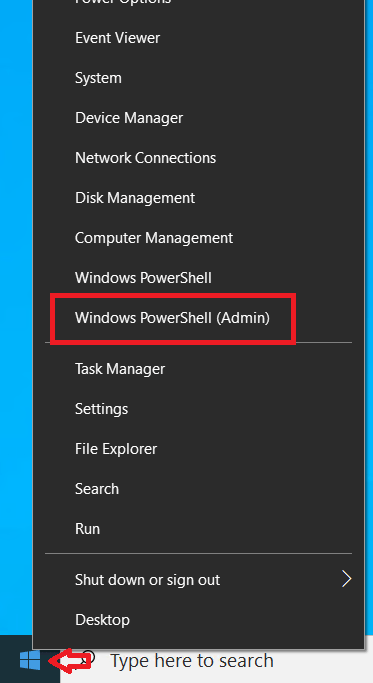
- Right click the ‘Start’ button, then select the ‘Windows PowerShell (Admin)’ option from the menu.
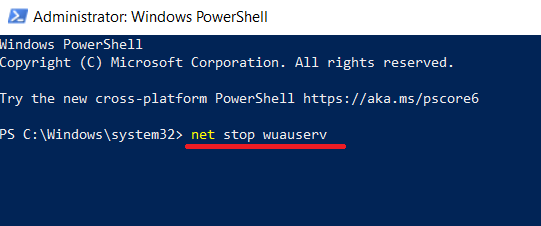
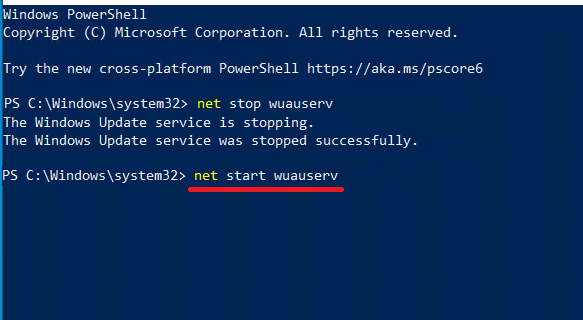
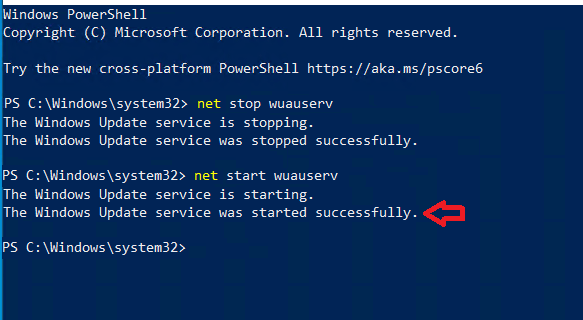
- In Windows PowerShell, type command ‘net stop wuauserv’, then press the ‘Enter’ key on your keyboard.
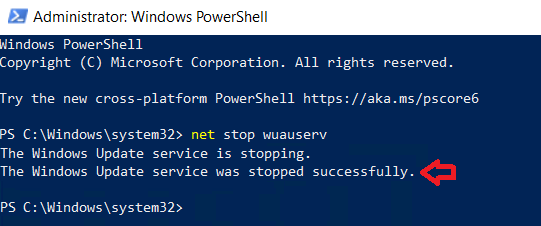
- Wait for the service to stop.

- Finally, you will see the message that service has stopped successfully.
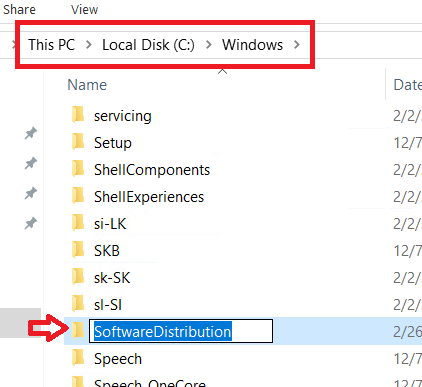
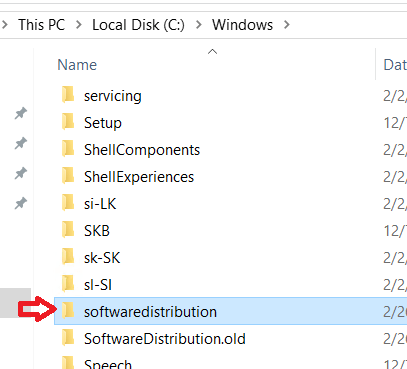
- Open Windows File Explorer, then go inside the ‘Windows’ folder in your installation drive, locate and left click the ‘SoftwareDistribution’ folder so that you can rename this folder.
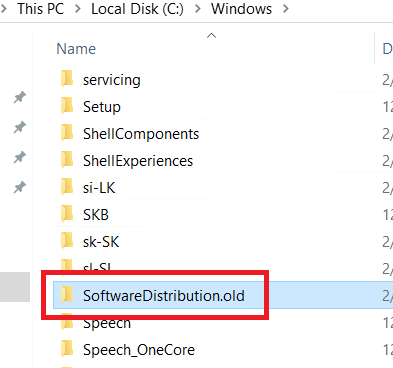
- Rename the folder to ‘SoftwareDistribution.old’.
- Go back to Windows PowerShell, type command ‘net start wuauserv’, then press the ‘Enter’ key on your keyboard.
- Wait for the service to start.
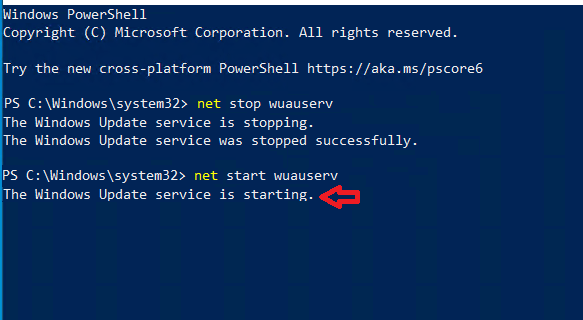
- Finally, you will see the message that service has started successfully.
- Go back to the Windows folder and you will find that a new ‘softwaredistribution’ folder has been created.
- Right click the ‘SoftwareDistribution.old’ folder, then select the ‘Delete’ option from the menu.

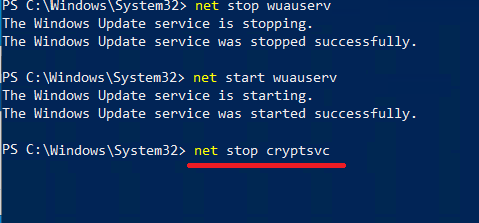
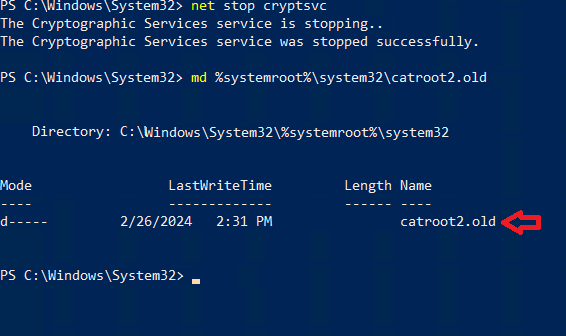
- Go back to the Windows PowerShell, type command ‘net stop cryptsvc’, then press the ‘Enter’ key.
- Wait for the Cryptographic Services service to stop.
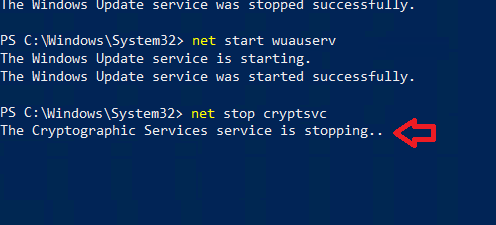
- When the service has been stopped you will see the confirmation message on your screen.

- In Windows PowerShell, type command ‘md %systemroot%\system32\catroot2.old’, then press the ‘Enter’ key.

- You will see the message that catroot2.old folder has been created.
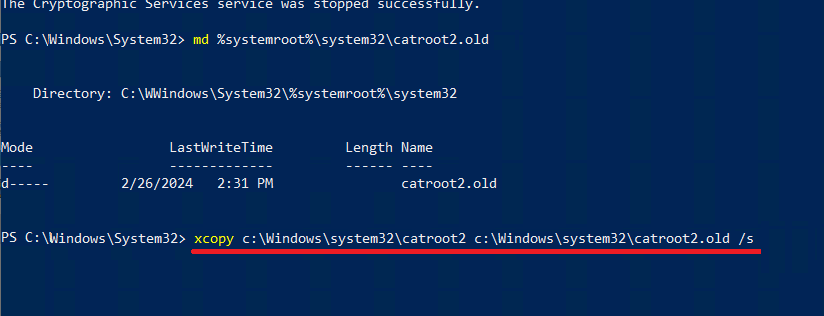
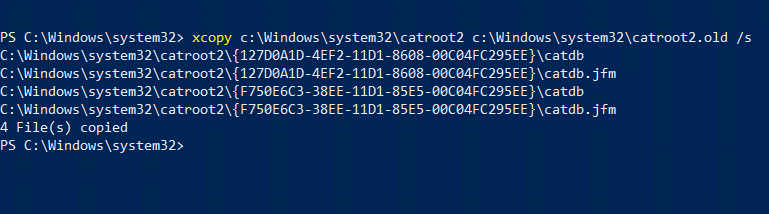
- Type command ‘xcopy c:\Windows\system32\catroot2 c:\Windows\system32\catroot2’old /s’, then press the ‘Enter’ key. Use the installation drive letter of your Windows instead of the ‘C:’ drive.
- You will be informed that all the files have been copied to the destination folder.
- Go inside the C:\Windows\System32 folder in your installation drive, find and right click the ‘catroot2’ folder, then click on the ‘Delete’ option in the menu.
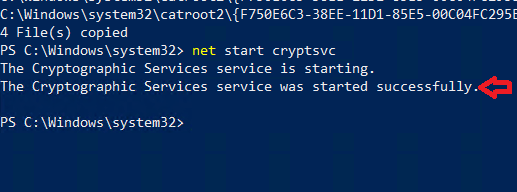
- Go back to the Windows PowerShell, type command ‘net start cryptsvc’, then press the ‘Enter’ key.
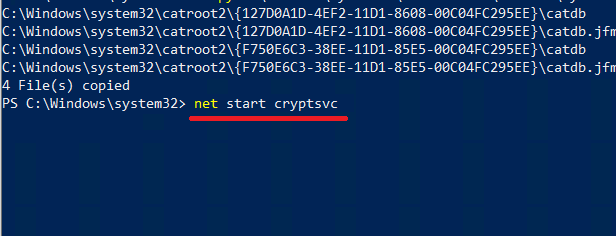
- Wait for the service to start.
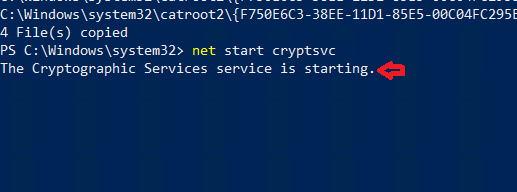
- Finally, you will be informed that the Cryptographic Services service has started.


Now, you should reboot your computer and most probably the Error 0x80070643 in Windows 10/11 will get fixed. However, if you are still encountering the error, then try the next solution.
Solution 2: Run Windows Update Troubleshooter
Windows comes with an in-built troubleshooting app for multiple features and functions of this operating system. Therefore, you get a troubleshooter for Windows Update feature as well. This is a simple solution, but highly effective because it allows Windows to resolve this problem from within. Follow the steps given below:
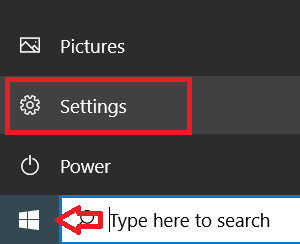
- Click on the ‘Start’ button and select ‘Settings’ option from the menu.
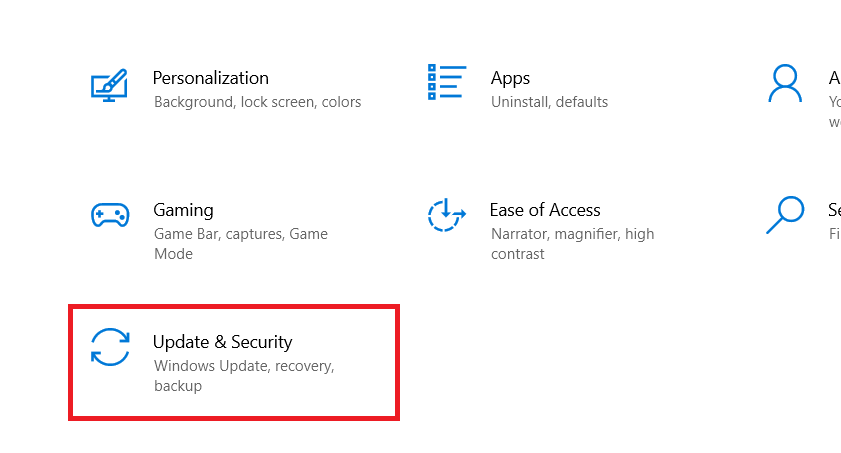
- In the Settings page, click on the ‘Update & Security’ option.
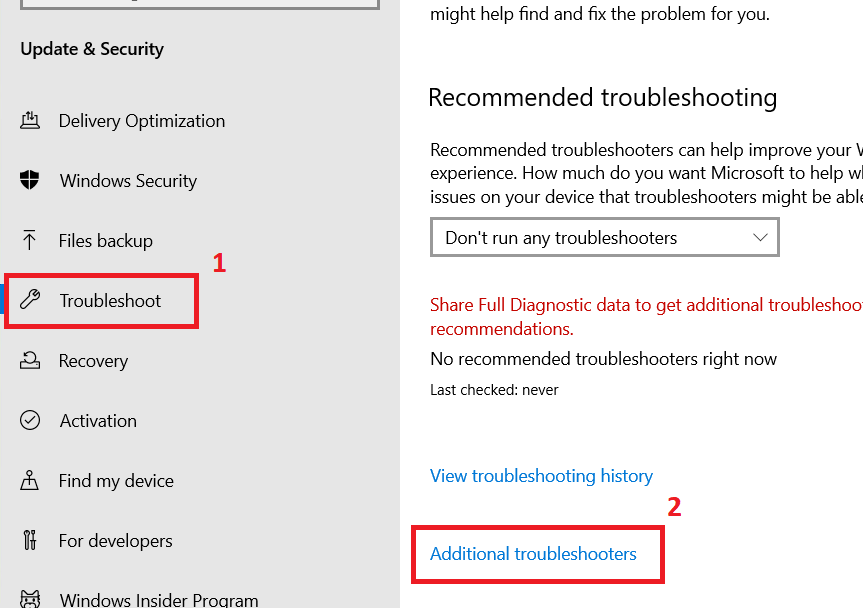
- Under Update & Security section, click on the ‘Troubleshoot’ option in the left pane, then click on the ‘Additional troubleshooters’ link.
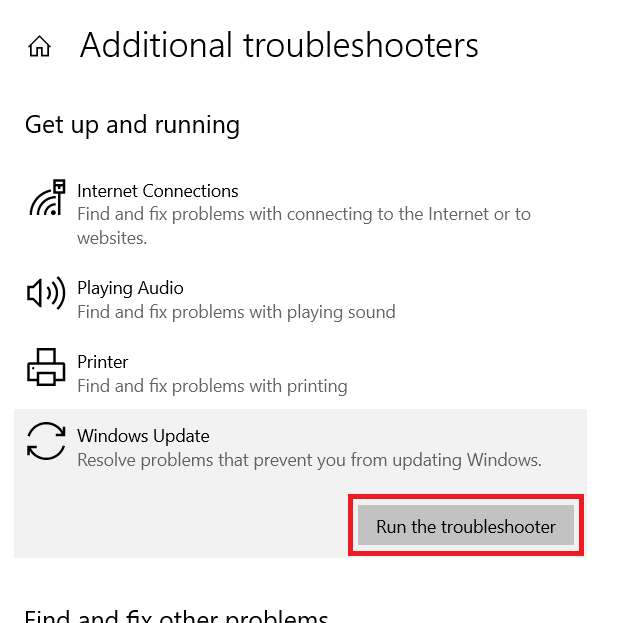
- In the Additional troubleshooters page, select the ‘Windows Update’ option, then click on the ‘Run the troubleshooter’ button.
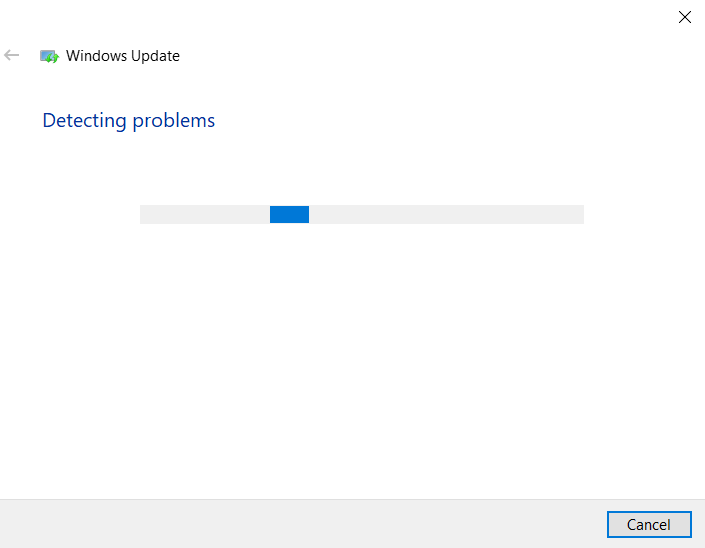
- Wait for the troubleshooter to detect the problems.
- After the troubleshooting has completed you will see the results of the whole process. Click on the ‘Close’ button to close the troubleshooting app.
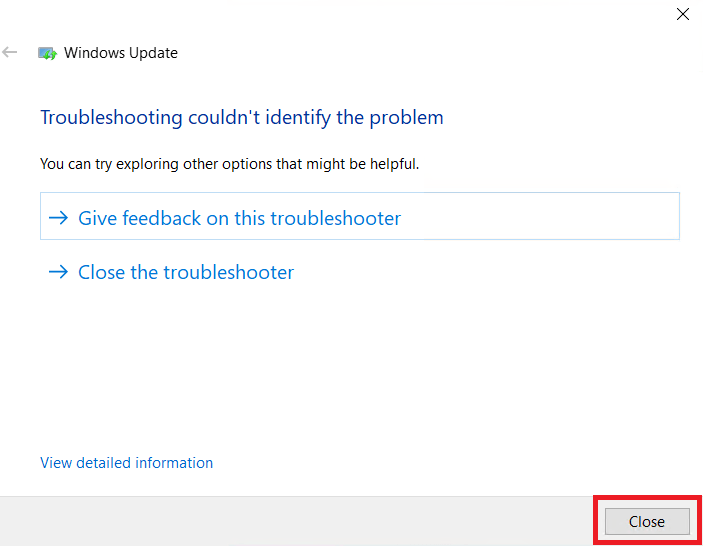


In my case, no problem was found by the Windows Update troubleshooter. However, sometimes if problems are found, then it will ask for a reboot. After reboot try to run Windows Update, if this solution failed to fix Error 0x80070643 in Windows 10/11, then try the last solution given below.
Solution 3: Run Windows Update from Safe Mode
Since, none of the above solutions worked for you, then maybe this error is caused on your computer due to corrupt system files or registry settings. The simplest solution in such a scenario is to reboot your Windows in Safe Mode with Networking and then try to run Windows Update.
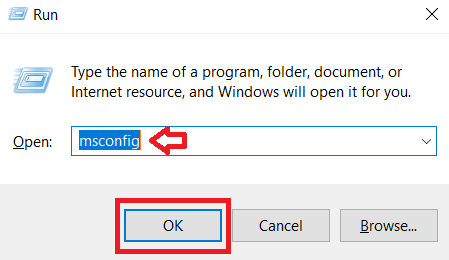
- Press ‘Win’ + ‘R’ keys simultaneously to open Run dialog box, then type ‘msconfig’ and click on the ‘OK’ button.
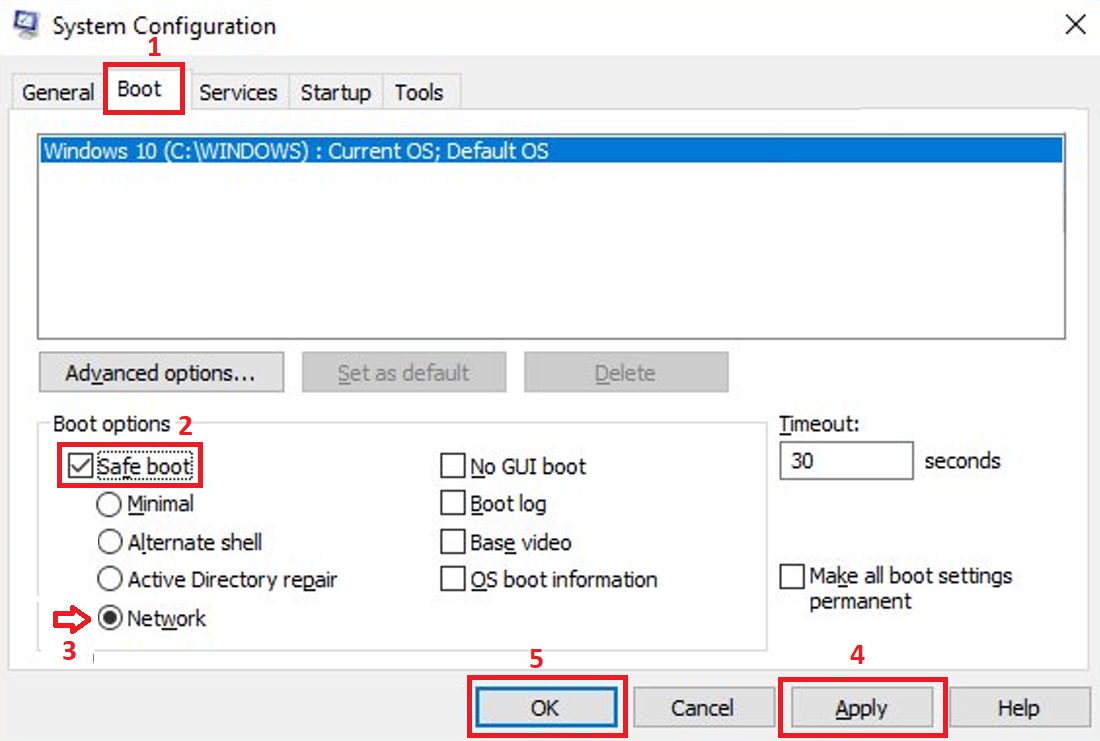
- In the System Configuration, click on the ‘Boot’ tab, then select ‘Safe boot’ option and choose the ‘Network’ option. Finally, click on the ‘Apply’ button, then ‘OK’ button to finalize the changes.


Restart your computer and it will load Windows Safe mode with network features. Now, try to run Windows Update and you will find that you have fixed Error 0x80070643 in Windows 10/11.
If you are troubled to find the answer of how to fix Error 0x80070643 in Windows 10/11, then this guide has described all the solutions you need to resolve this error. However, if you are still encountering this error, then I would suggest you to seek further assistance from the Microsoft support.